I love when I see homeowners go all out and decorate every inch of their homes so doing the visual merchandising and decorating for the shop brings me joy. I usually work with what I have and do a lot of DIY.
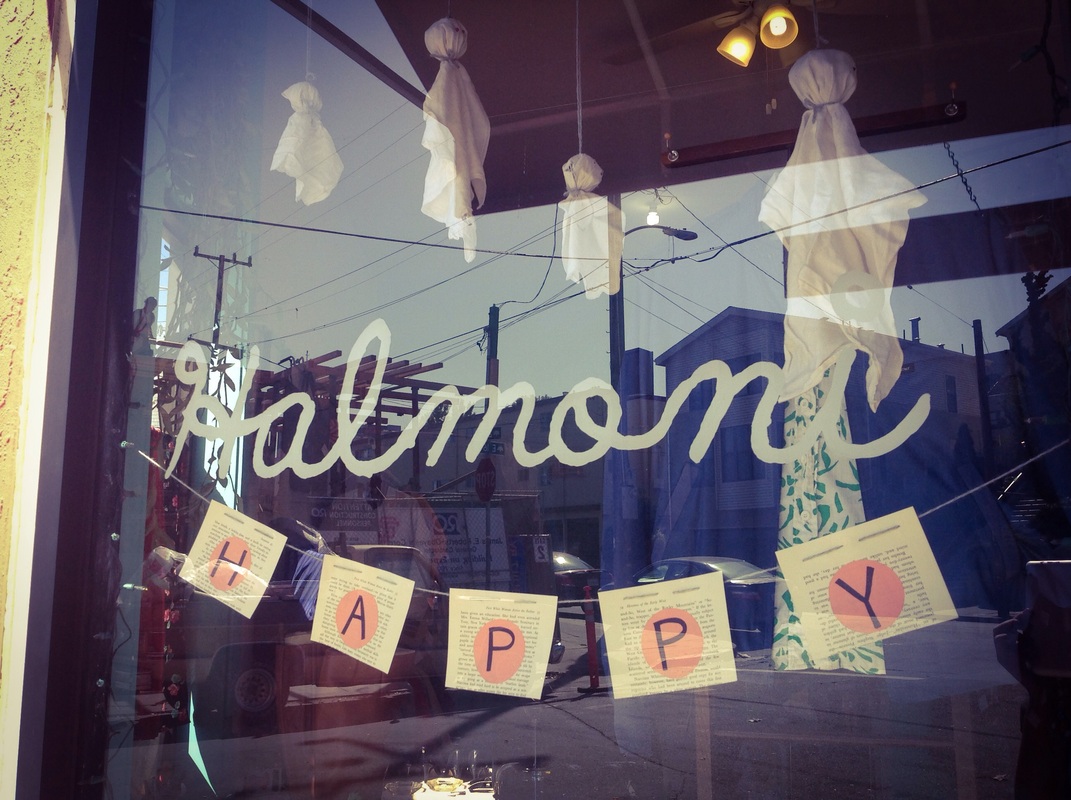
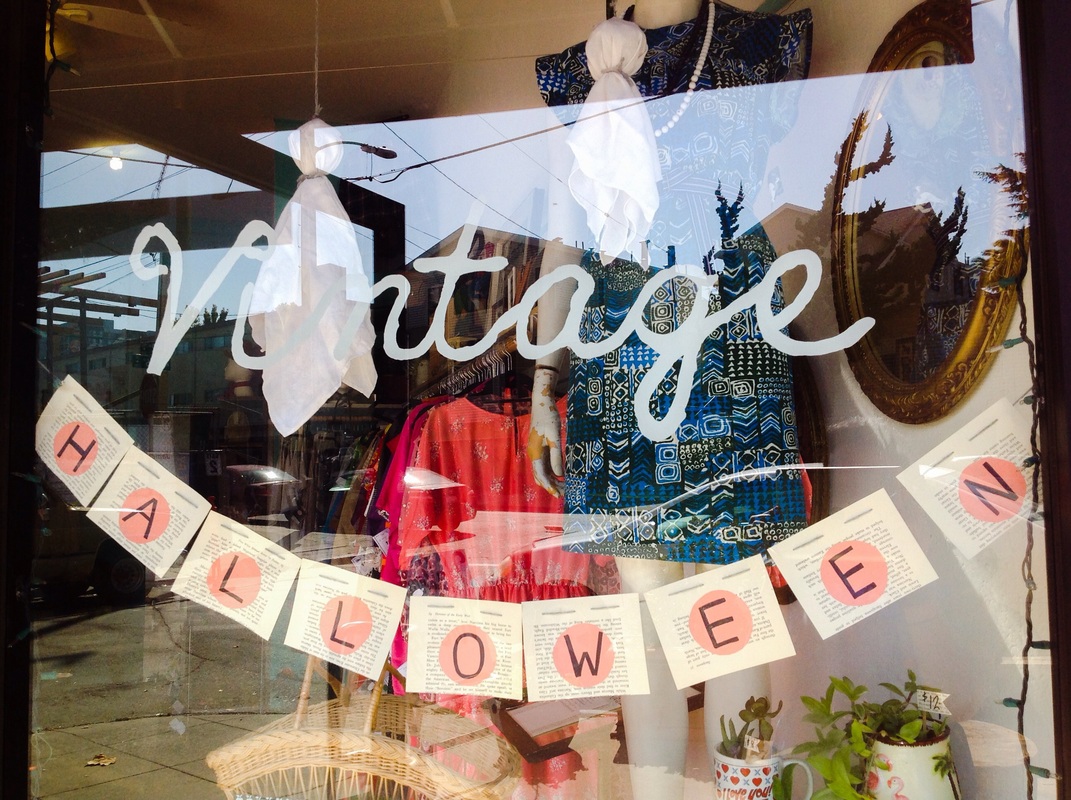
One of the best parts of being a vintage boutique owner is not only the clothes and people but also decorating the windows for the holidays. I've lived in apartment buildings my whole life so taking pride in decorating for the holidays was limited to just inside the apartment. I love when I see homeowners go all out and decorate every inch of their homes so doing the visual merchandising and decorating for the shop brings me joy. I usually work with what I have and do a lot of DIY. 
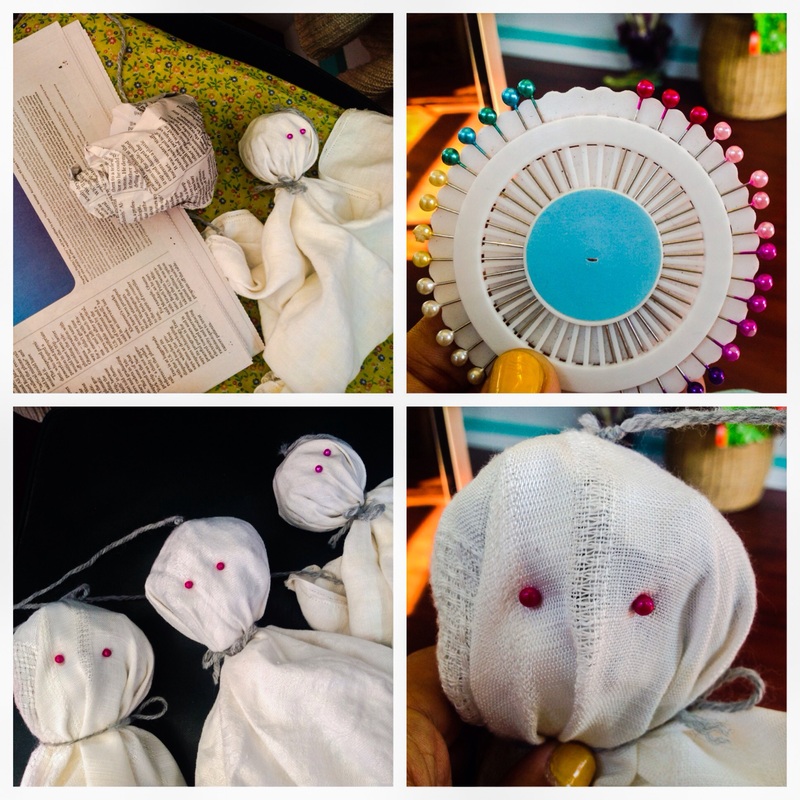
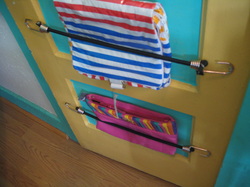
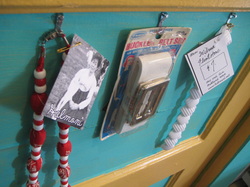
I saw a really cute way to make ghost decorations so here is how I made it my own. I didn't have all the materials to make to ghosts so I just used what I had here at the shop. You can check out the original blog post here. 
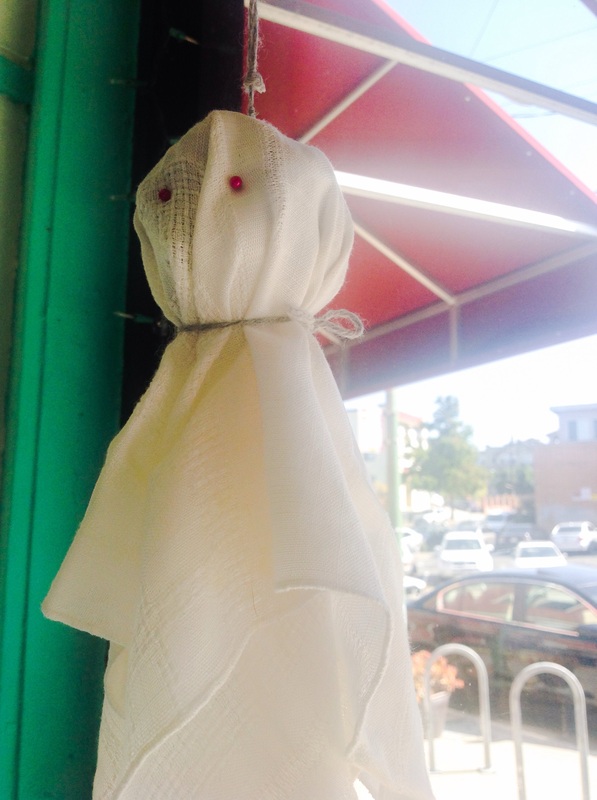
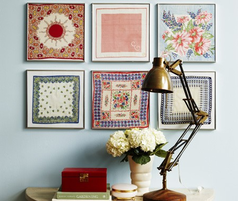
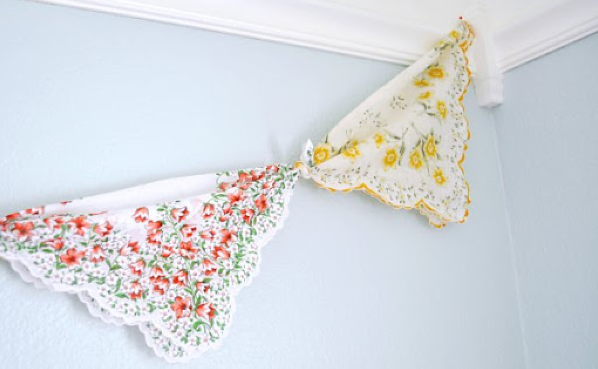
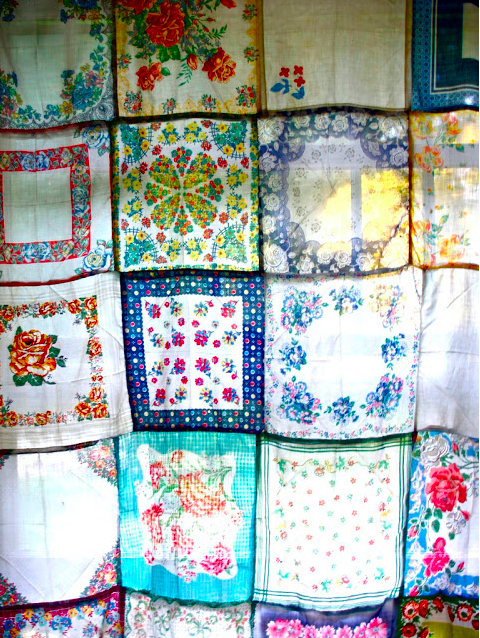
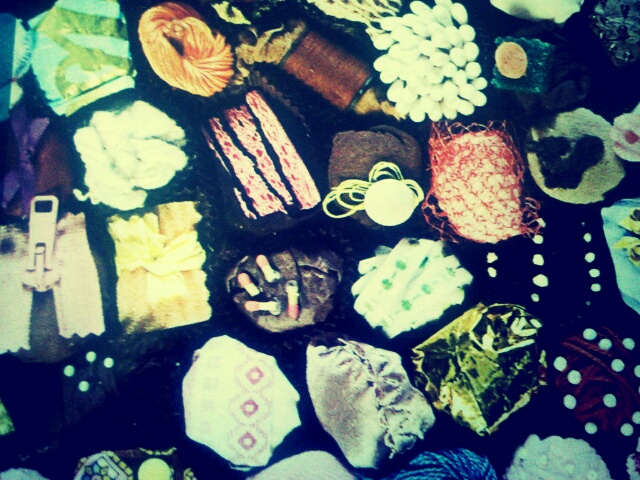
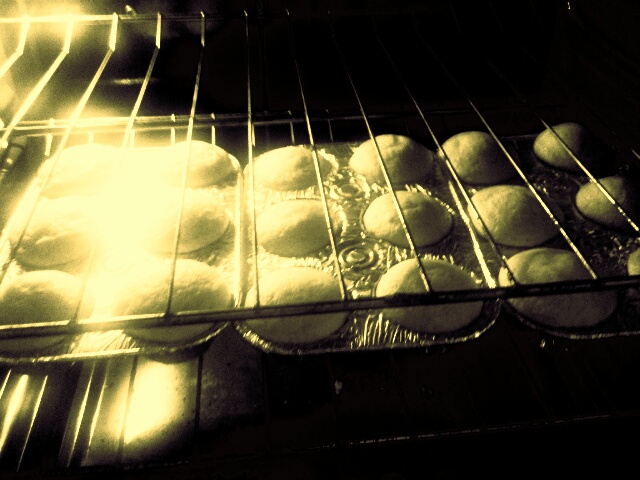
The original DIY I found called for foam balls to make the heads. Instead of the foam balls I used newspaper that I smashed up to make a ball ;) I had some vintage hankies and napkins to use instead of the lace and I'm pretty happy with the outcome. There was some yarn sitting around the shop that worked well to secure the head. After securing the head I cut another length of yarn so that I could hang them on a nail for the window display. It was super easy!! Do you love it? Have any easy Halloween decorations you'd like to share??
0 Comments
House and Home Framed Handkerchiefs One of my regulars, Sonia stopped in today and was admiring the colorful vintage handkerchiefs that I have displayed in the shop. She was wondering what could be done with handkerchiefs besides making it function as a hanky aka booger catcher. I told her there were many DIYs you could do so that they don't just collect dust in a drawer or some other hidden place where no one would see your adorable handkerchiefs. Why not display your cutie pie kerchiefs all over the place?? Mother Huddle No Sew Garland How would you want to display your handkerchiefs? There are so many crafty ways you can display your hankies but my favorite way would be a no sew project. If you just tie a few of these babies together, you already have a one of a kind garland to hang in your house. I'm going to try this one ASAP. ps. I'm decorating my new apartment (stay tuned for a tour) Modern June Table Runner I found a super cute table runner DIY on the Modern June blog. Vintage handkerchiefs are turned into a table runner where a collection of all white vintage glassware is displayed.
I heart how the color combination of hankies tie in with the vintage tray collection on the wall. The table runner adds color and brightens the all white glassware, which might be kinda boring standing on its own. Oh the possibilites... The saying,"one man's trash is another man's treasure" rings so true for me. While driving around Oakland the other day, my boo and I stumbled upon this pile of stuff. We stopped because we were on the hunt for free wood to make sandwich boards. I thought the broken stool might be promising so we adopted the little broken brown stool. My handy boo decorated the stool in one of my favorite designs, POLKA DOTS! Can you see the vision developing? He added a big piece of wood to the newly painted stool to create the newest representative of Halmoni. :) So cute! I love D.I.Y. This little sandwich board has been with us since the beginning so it has sentimental value. It lost its legs sometime ago and it's nice to see the little guy up and running again. What do you think? A little bit of TLC goes a long way!
I was inspired recently by bows and have been incorporating them in my wardrobe. I haven't tried wearing them in my hair but around the neck I'm totally down with. I thought about one of my inspirations, Elsie from A Beautiful Mess and Red Velvet Shop, she did a D.I.Y. of bows on her blog. My outfit needed something extra today and I wanted to wear a bow. I was at my boo's place where bows were nowhere to be found...but then I thought I DID have these two cute floral strings that I cut off a dress recently....haha! I laugh at life's little road blocks. I will have a bow today! So I sewed them together because they needed each other to make it work! :) I worked with what I had and am pleased with the result!
I wanted to start with this image because it looks sooo edible, but it isn't. There are some q-tips, a zipper and a spool of thread, all kinds of things. There is some truth in saying it's all about the presentation sometimes. I've been throwing events at the shop recently and will bake cupcakes for the spread. In reality, I really just want an excuse to bake yellow cake with chocolate frosting... it reminds me of my childhood. Why not make cupcakes? They are cute, little and yummy! This is your basic cupcake. It's the kind that I usually make, I'm an old-fashioned kind of gal and enjoy simplicity sometimes. I love the classics. When I feel spunky I'll add sprinkles to give the cupcakes some pizazz but...NOW I'm making them "faaanncee".(fancy...hands on my hip doing a slow hula hoop motion) cute huh? ps. these are cupcakes from our art reception for Ellen Christensen! These are the accessories to baking ;) You can use anything you want...nerds, caramel corn, berries, slivered almonds and sprinkles are just a start to the possibilities. Another thing you can do to make your cupcakes shine even further is to display them on a fancy plate or pedestal. It's the thought that counts, so get creative and turn your cupcake into your canvas.
You can acquire all that you need for this project at your local hardware store but you might just have all the fixings sitting around your house. What you'll need: Upholstery tacs of your choice (<$2) Screen (buy by the roll or by the yd) Small nail and/or hooks of your choice Adjustable bungee cord (they come in all kinds of colors and sizes) Hammer Scissors The first time I ever did this project I used a window screen that I found sitting in the garage. I used basic household scissors to cut out the size of screen I needed. Recently I bought some bronze screen by the yard at the hardware store, so whatever is available. Start by cutting your screen to fit, use tacs in the corners and edges to make it stay in place. Add as many or little as you want. Use bungee cords to hold and display your purses or even to display your favorite shoes You can arrange your earrings, necklances and purses in anyway that works for you. Switch and reconfigure to always have a rotating display. Make it fun! Displays your accessories as works of art. My newest addition to the accessory door are the hooks. My accessory of choice are earrings but when I opened the shop I needed a way to display necklaces and what nots and this is what I have I came up with. Works out really nice to hang other things besides necklaces. So this D.I.Y. is really cool because you can use it for anything. Have fun and let me know how it all works out for you. Send me pics!
|